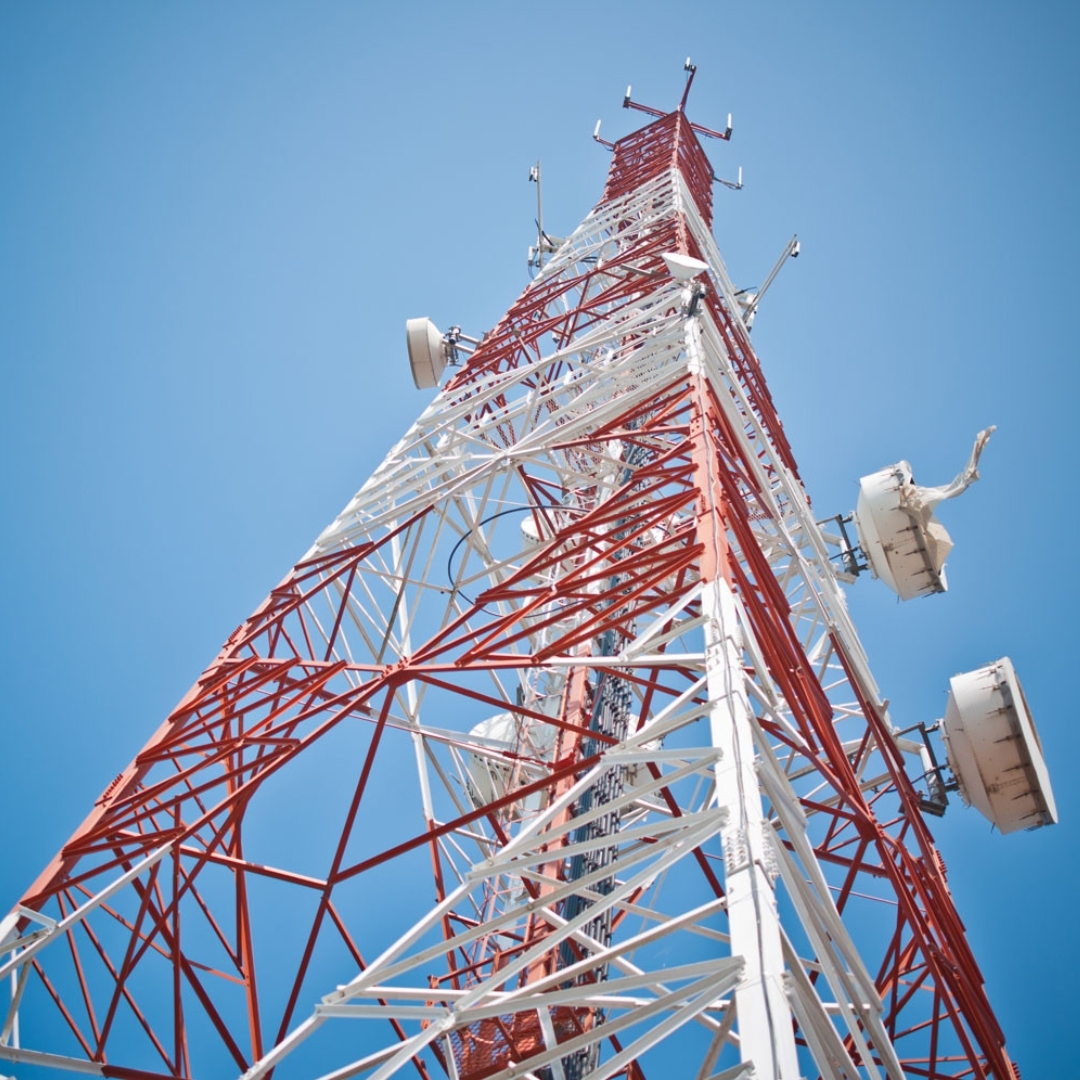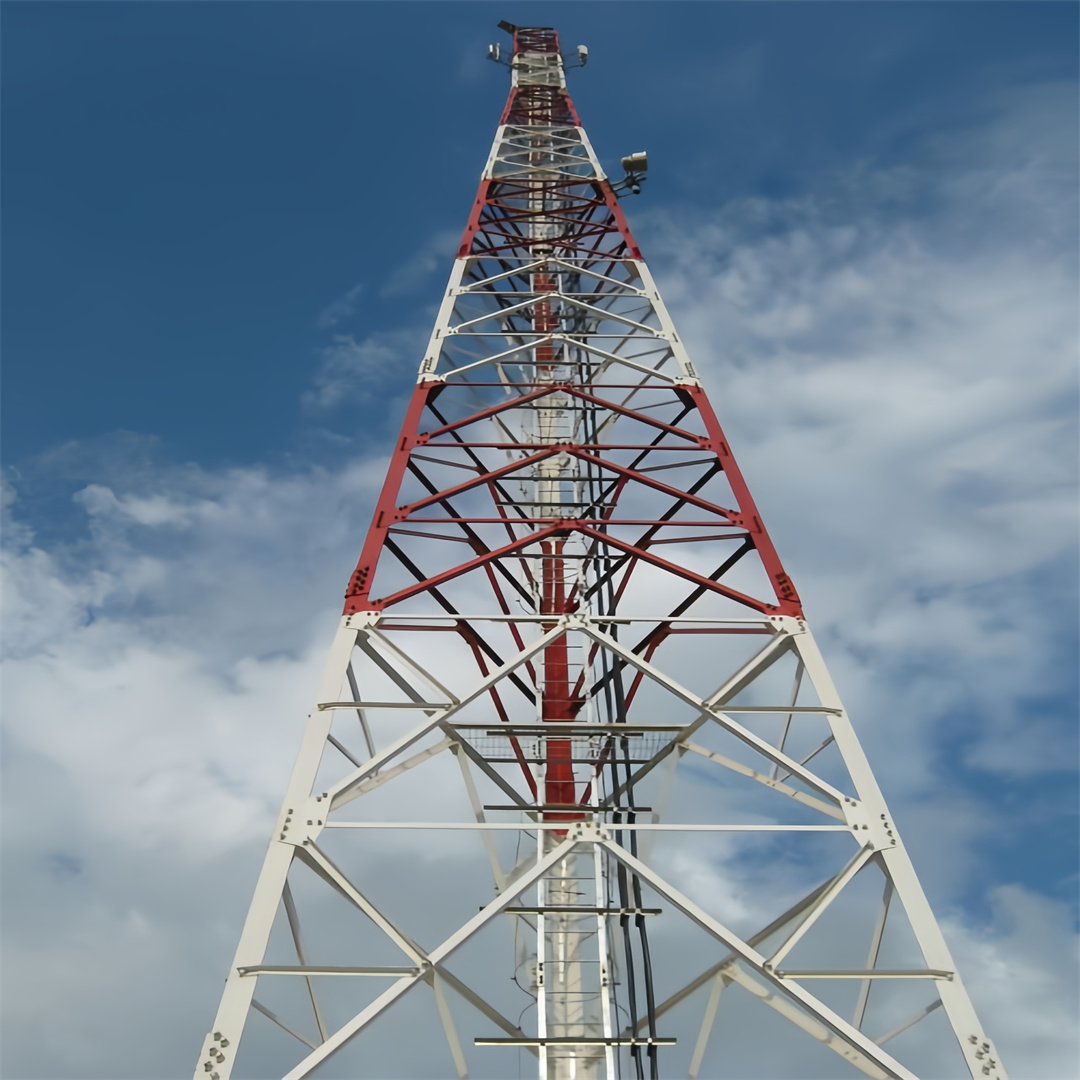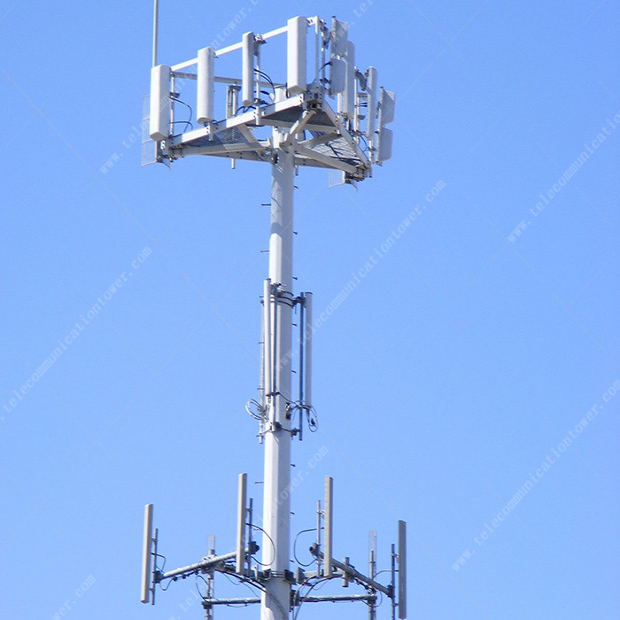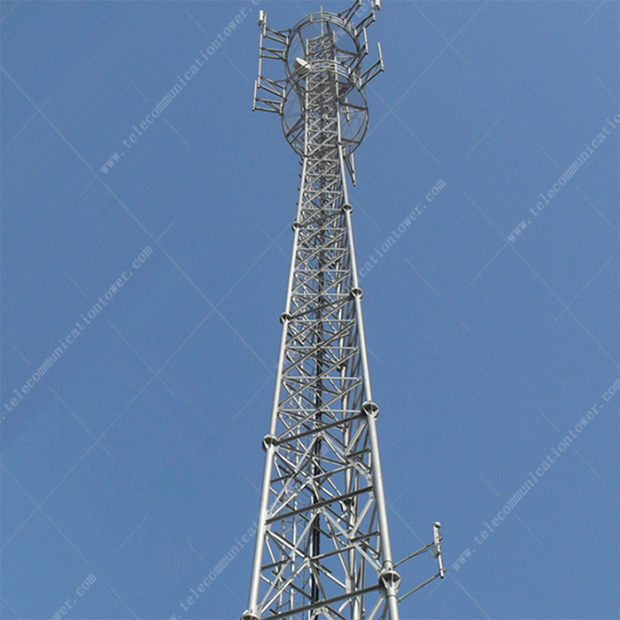

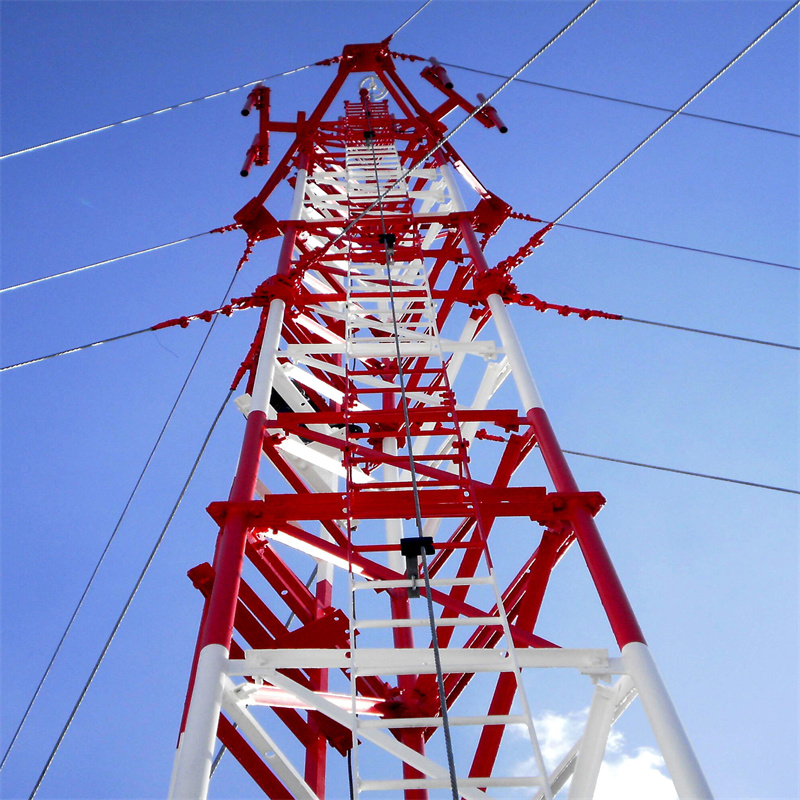



Pre-installation Preparation: Verify the tower's load-bearing capacity to ensure it can support the antenna's weight (including hardware and associated cables). Inspect the tower body for corrosion, structural damage, or loose connections, and confirm compliance with local safety codes (e.g., IEC 62305 for lightning protection).
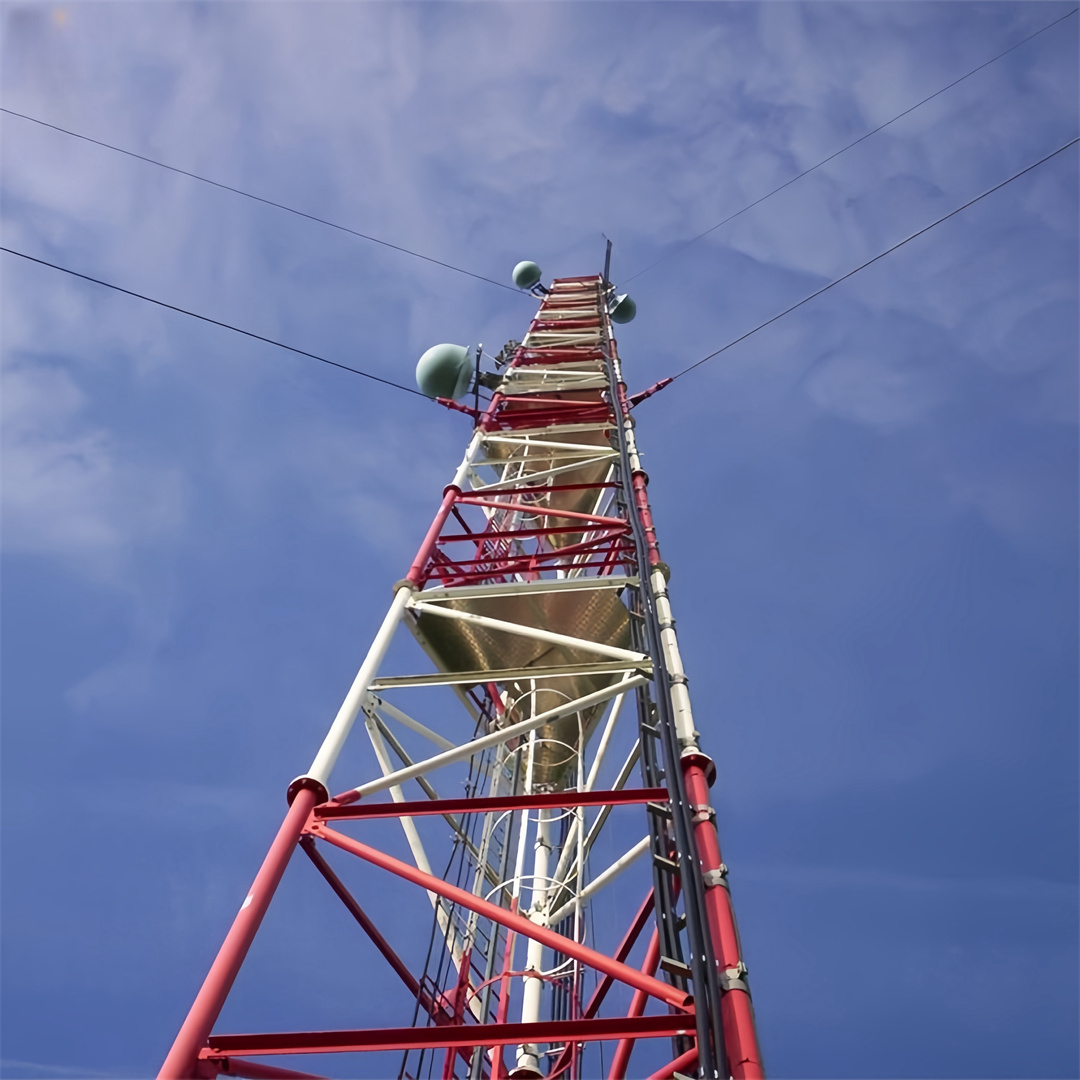
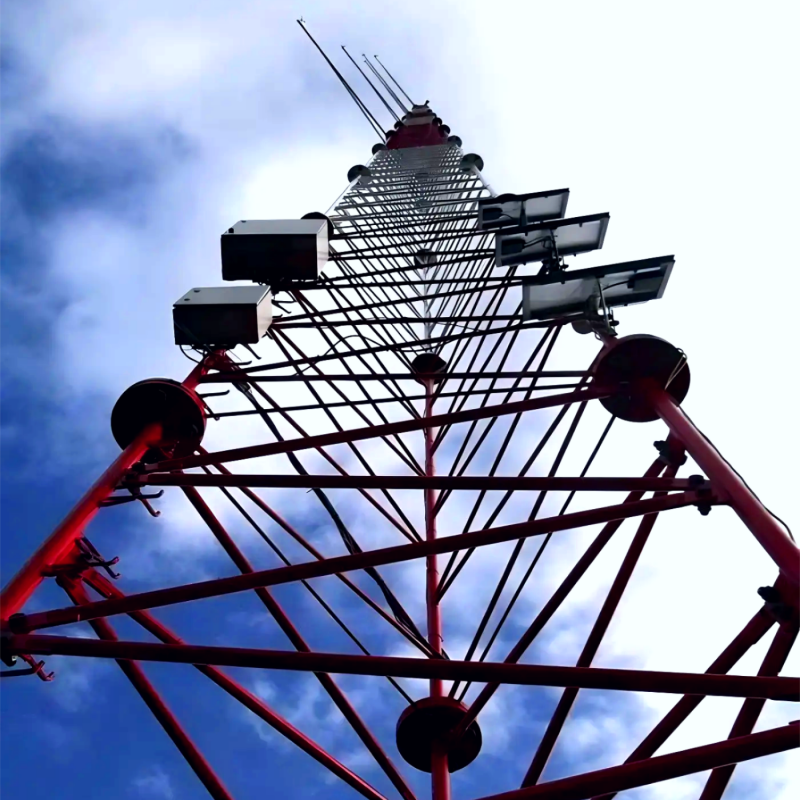
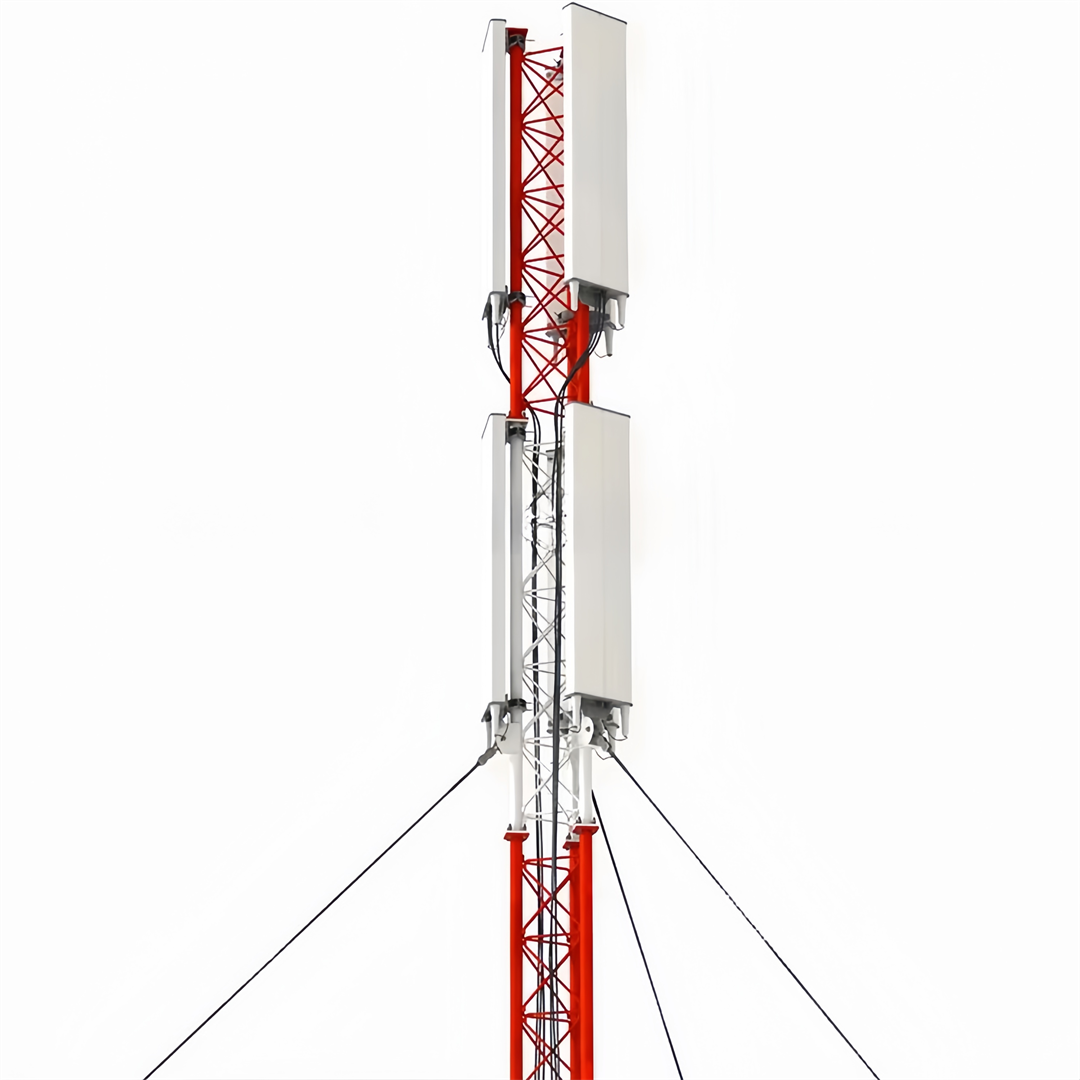
Antenna Mount Installation: Attach dedicated antenna mounts (integrated accessories of the tower) to pre-designated points on the tower body. These mounts are typically secured using high-strength bolts compatible with the tower's galvanized steel structure, ensuring a firm connection that withstands wind forces and vibrations.
Antenna Lifting & Positioning: Use cranes or specialized lifting equipment to hoist the antenna to the target height (strategically chosen for optimal signal coverage). Align the antenna with the intended transmission/reception direction, using laser tools or alignment meters for precision.
Securing the Antenna: Fasten the antenna to the pre-installed mounts using compatible hardware, tightening bolts to the specified torque to prevent movement. Ensure the antenna is level and stable, with no wobble that could affect performance or structural integrity.
Cable Routing & Integration: Route signal cables or feeders through the tower's integrated cable trays to protect them from environmental damage. Connect the cables to the antenna and run them down to ground-based equipment, ensuring proper insulation and waterproofing at connection points.
Final Inspection: Conduct a visual check of the antenna, mounts, and cables to confirm secure installation. Test the antenna's signal transmission/reception to verify functionality, and ensure all safety protocols (e.g., fall protection for workers) are followed throughout the process.

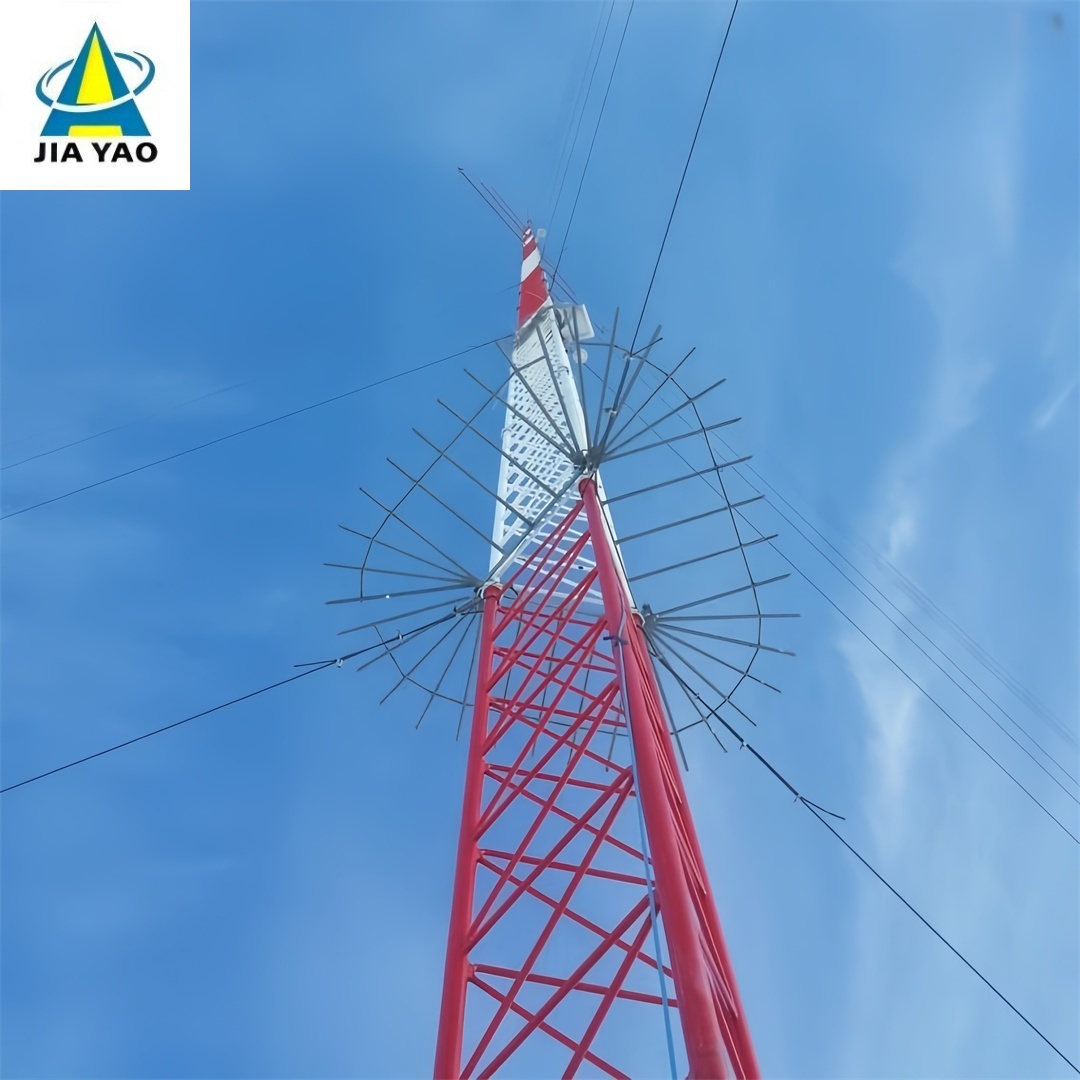
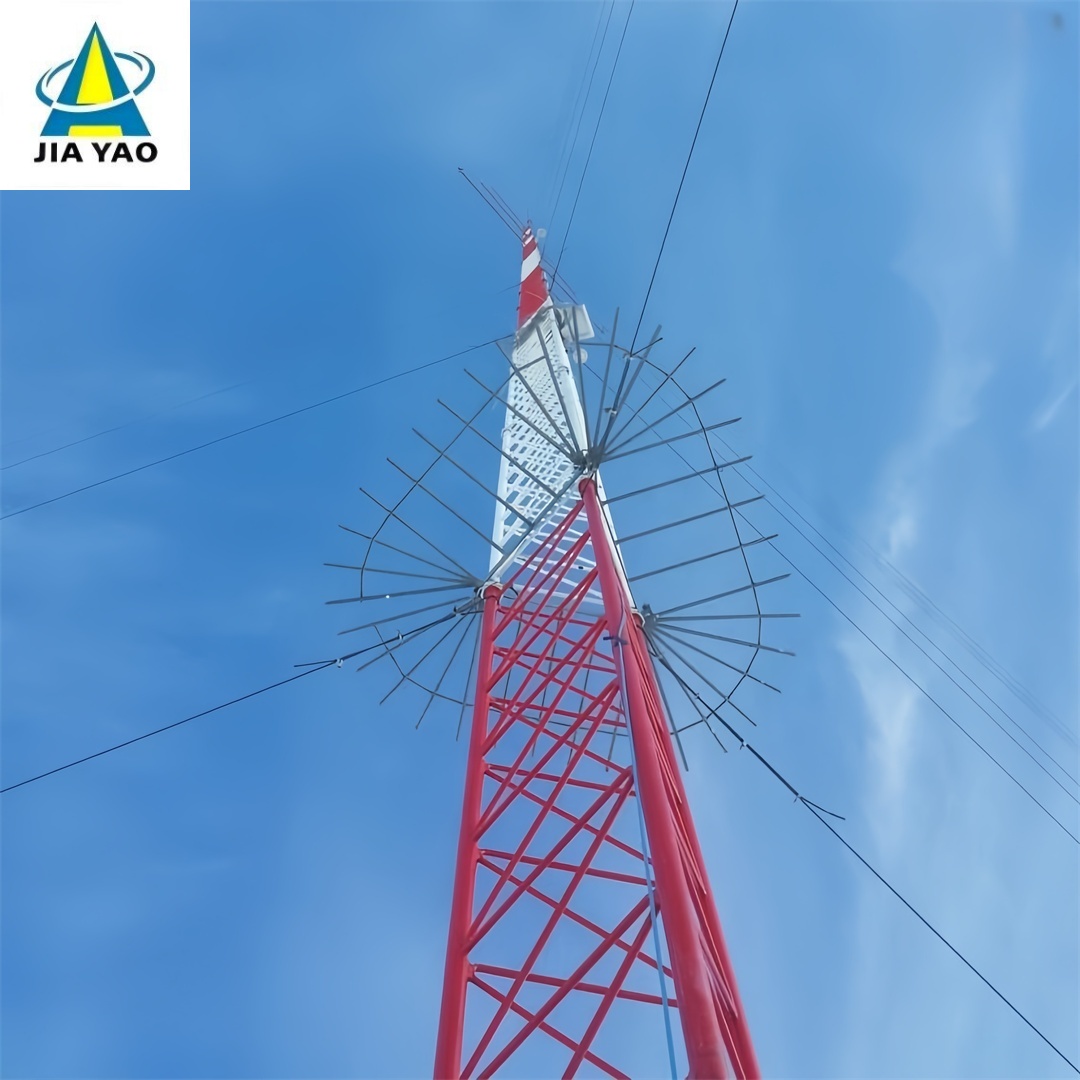
Anti-climb collars/skirts: Circular or conical steel barriers mounted near the base of the tower (typically 2-3m above the ground) to block climbing attempts by denying handholds or footholds.
Spiked or jagged deterrents: Non-lethal, pointed steel attachments on lower tower sections or ladders to discourage unauthorized climbing.
Locked access: If the tower is equipped with a ground-level access panel or ladder entry point, a locked gate restricts access to certified personnel only.
Please Click Here For More Information!!!
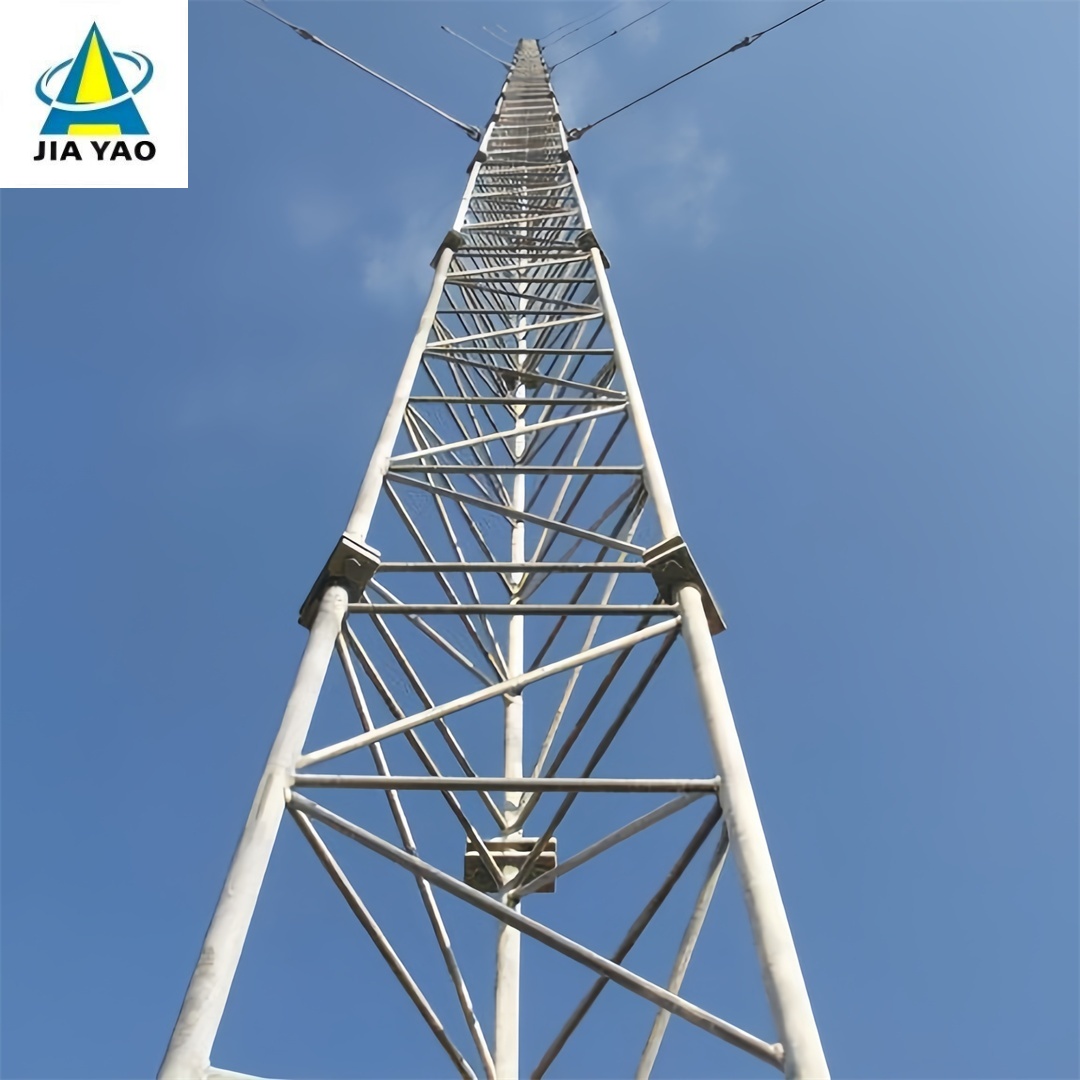
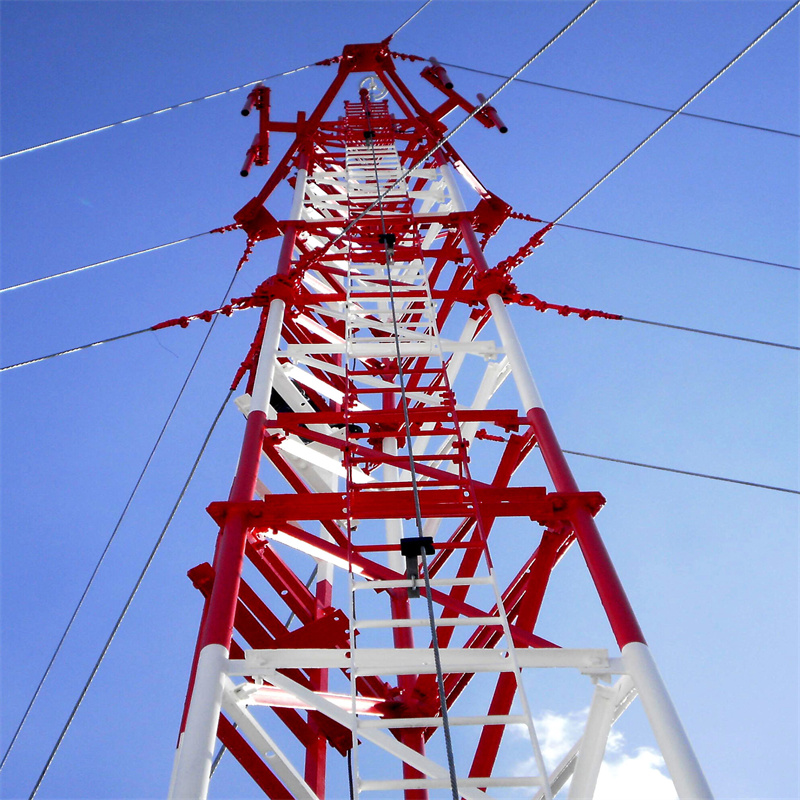
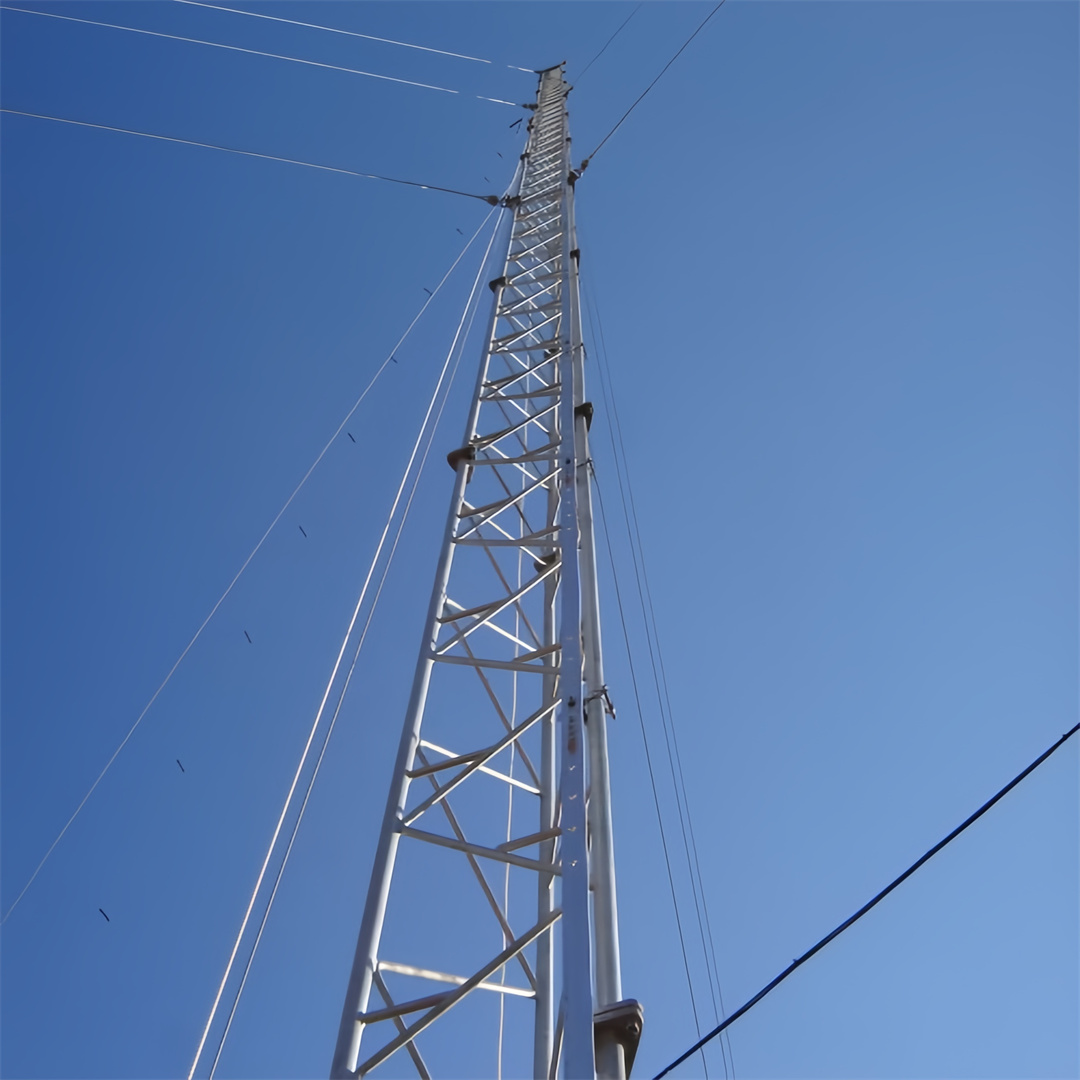
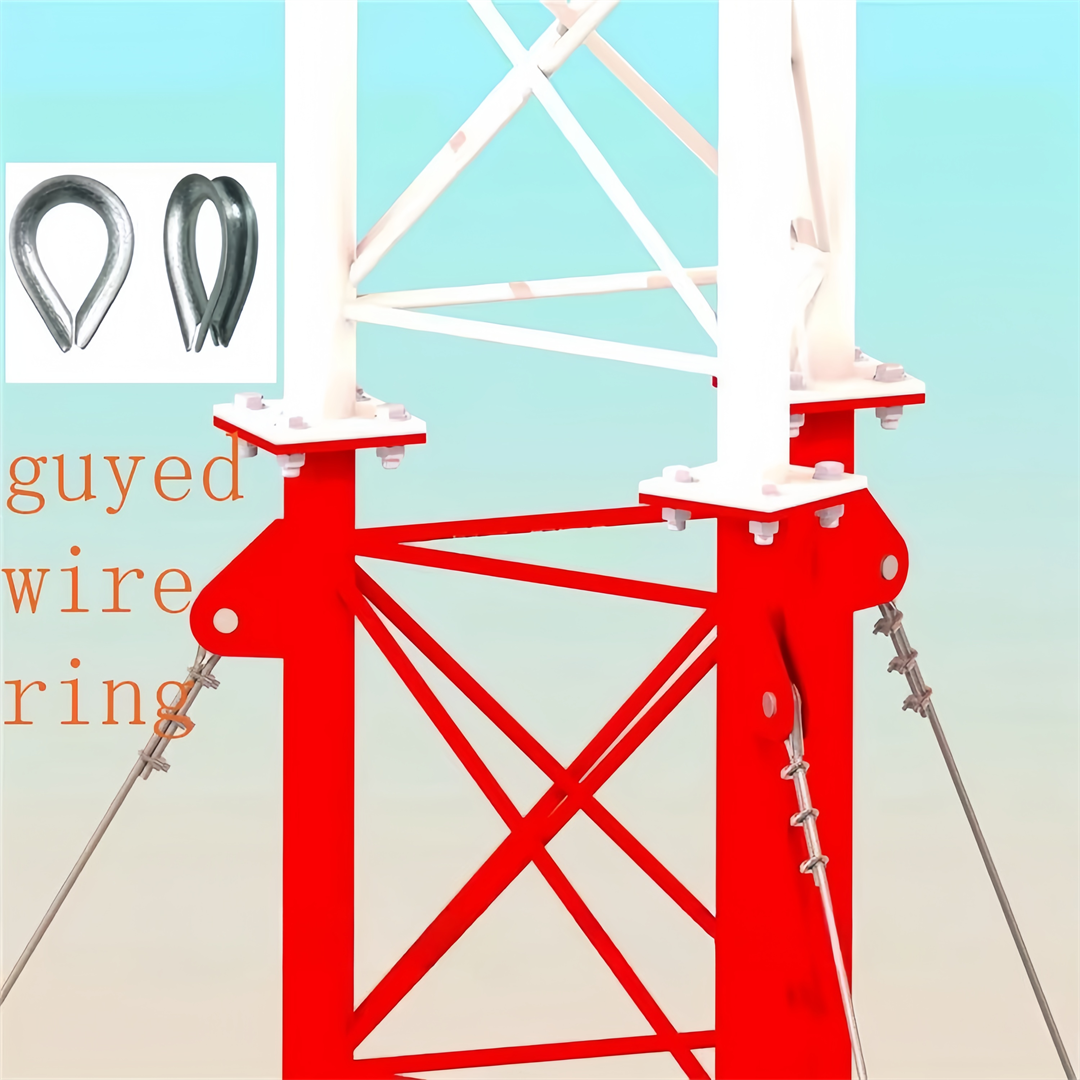
Preparation: Select guy wires made of high-tensile steel cables (complying with ASTM A475) with zinc or polymer coatings for durability. Ensure the tower body has pre-fabricated attachment points (e.g., lugs, brackets, or crossarms) at 20-30m intervals, as specified in the tower's design.
Attachment Hardware Installation: Mount heavy-duty guy wire brackets or clevises to the tower's pre-designated attachment points using high-strength bolts (compatible with the tower's galvanized steel structure). These brackets are engineered to distribute tension evenly across the tower body.
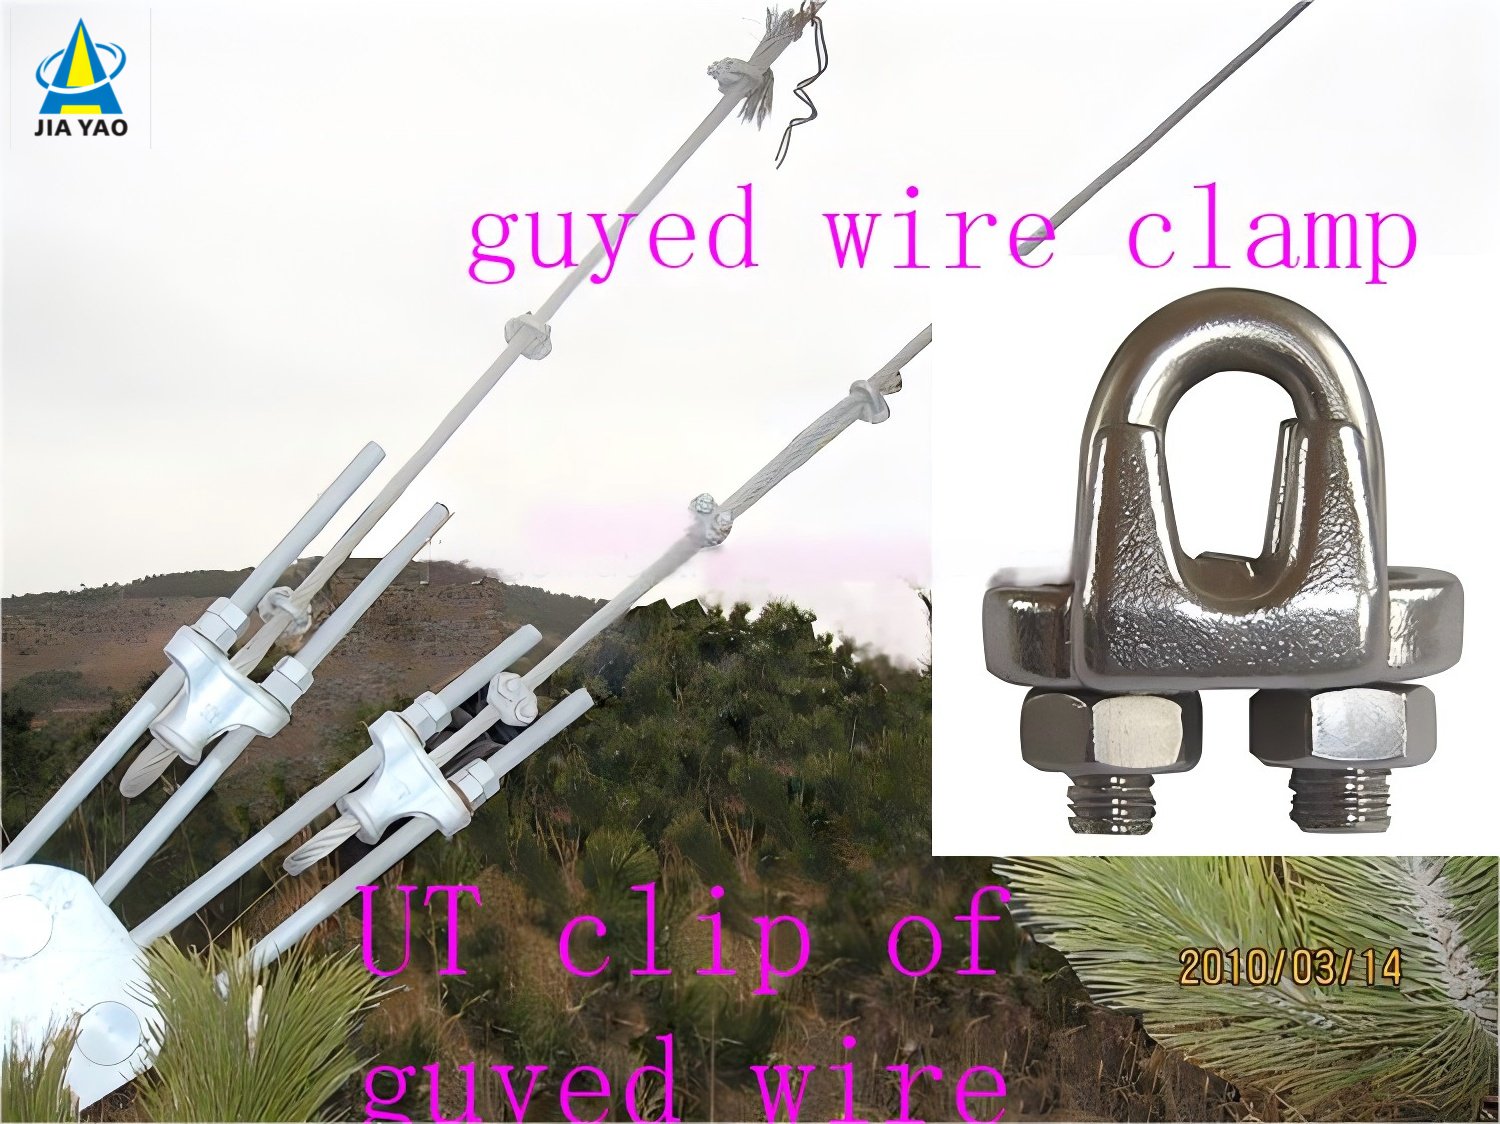
Wire Termination: Use professional termination fittings (e.g., swage sleeves, cable clamps, or thimbles) to secure the end of each guy wire. Swage sleeves are crimped onto the wire for a permanent, high-strength connection, while cable clamps provide adjustable tensioning.
Connection & Tensioning: Attach the terminated end of the guy wire to the tower's bracket using a shackle or pin, ensuring a secure fit with no slack. Use a tensioning tool (e.g., a turnbuckle or come-along) to adjust the wire's tension to the design specification-critical for balancing lateral forces on the tower.
Verification: Check that the connection is aligned with the tower's tapered structure and that the wire is tensioned uniformly (avoiding over-tightening, which could stress the tower body). Confirm the hardware and termination fittings are corrosion-resistant and comply with the tower's safety standards.
Anchor Preparation: Ensure the ground anchor (heavy-duty concrete or steel anchor, designed for tension loads) is properly installed in the ground at a 45-60° angle relative to the guy wire. The anchor must be fully cured (for concrete) and securely embedded to resist pull-out forces.
Anchor Bolt Exposure: Ensure the anchor's top bolt (guyed anchor bolt) is protruding above the ground and threaded to accommodate connection hardware. The bolt should be made of high-strength steel to withstand the tension of the guy wire.
Wire Termination: Terminate the free end of the guy wire using the same high-strength fittings (swage sleeves, cable clamps, or thimbles) used for the tower connection, ensuring a secure, load-bearing end.
Connection Hardware Assembly: Attach a turnbuckle (for tension adjustment) and a shackle to the terminated guy wire. The turnbuckle connects to the guyed anchor bolt via a nut or washer, allowing for fine-tuning of the wire's tension.
Tensioning & Securing: Use the turnbuckle to tension the guy wire to the required specification, ensuring it resists lateral forces without pulling the anchor. Once tensioned, lock the turnbuckle with cotter pins or lock nuts to prevent loosening over time.
Final Check: Verify that the connection is secure, the anchor shows no signs of movement, and the guy wire is aligned at the correct 45-60° angle. Inspect for corrosion on the bolt, hardware, and wire termination, ensuring compliance with IEC 62305 and local safety codes.
Please Click Here For More Information!!!

Please Click Here For More Information!!!